


Example
You can make them easily using a little cloth.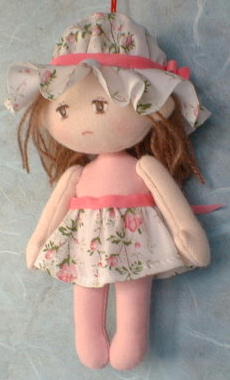
Materials
- cotton jersey (face and arms)
- cotton lawn (lining for the jersey fabric - any thin cloth)
- cloth (dress and cap)
- ribbon
- wool yarn (hair)
- polyester fiberfill
- string to suspend
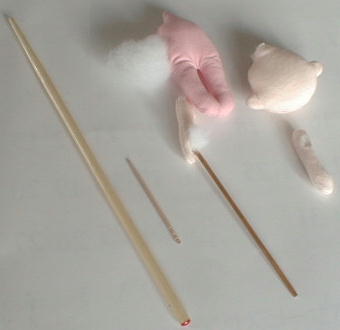
Tools
- sewing machine, needles, thread, scissors, chalk and so on.
- ruler, chopstick, pencil.
- tacky glue (to stick hair).
- paints or oily felt-tip pen (to paint face).
- rouge.
- toothpick.
Procedure
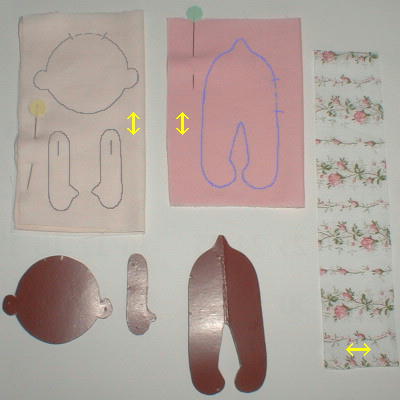
Making patterns
- Print pattern out on A4 paper. It doesn't have to be precise.
- There are several types of patterns. You choose any type you like.
Copy patterns on the cloth
- Head and arms.
Pin two sheets of jersey between two sheets of cotton lawn.
Draw, using a pencil. - Body.
It's made in one piece. Mark it with the chalk.
Sewing
- If not using a sewing machine, handsew with small stitches.
- Sew the head and the body around, except at the openings.
- Sew all around the arms, opening a hole with a ripper on one side of each,
making sure to have one right and one left arm.
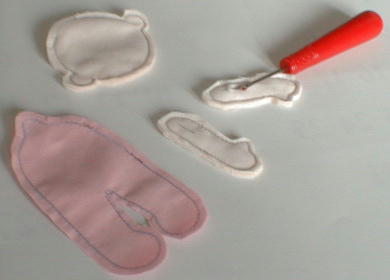
Turn inside out
- Cut out with scant 1/8th inch margin. Under the thigh, slit close to the seam.
- Turn arms, using toothpick or other turning tool.
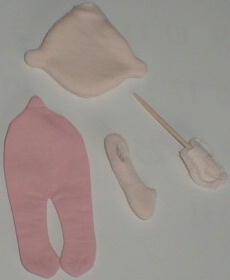
Stuffing with fiberfill
- Fill lightly. Don't fill ears.
- Fill the neck firmly.
- Stitch the head and body openings.
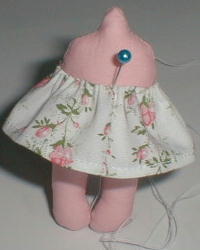
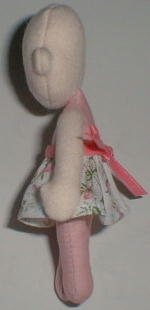
Put skirt on
- Sew cloth (1.6" × 7") in a ring and stitch the hem.
- Fold waistline a scant 1/4" to the inside, make gathers and stitch it to the body.
Wrap a ribbon around the waist and tie it in a bow behind.
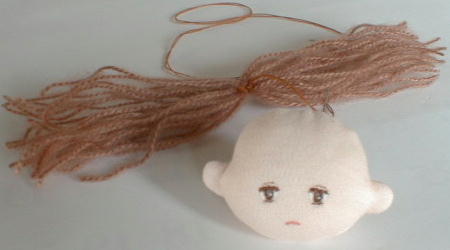
Painting features
- Paint eyes and mouth, using color or pen.
- Rouge the cheeks.
Positioning arms
- Close the hole in each arm, and stitch it to the body,
a little toward the front of the body.
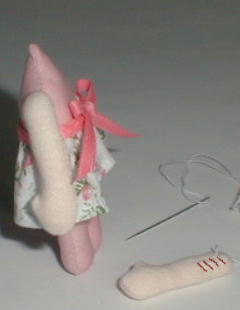
Positioning head
- Stitch the head to the neck, using large stitches through the filling.
Hair
- Tie the center of the wool yarn, stitching it by hand.
- Style hair and length to your liking. Glue hair on head.
Cap
- Cut a 4-inch diameter circle of fabric.
- Use a thin glue on the edge (to prevent fraying).
- Gather 1 inch inside the edge.
- Place it on doll's head and tack lightly to head.
- Tie ribbon around the gathers.
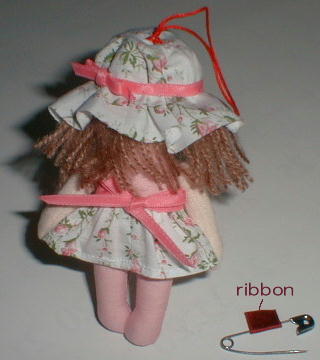
String tie/pin
- Stitch a string on the top of the head, through the filling,
or attach a safety pin or pin backing to the back of the doll.
Just complete!
If you are not good at painting faces...
- Draw lightly with a pencil.
- When the face was not as you wanted it to be, paint again on the back of the head.


0 comments:
Post a Comment
Please leave your comment here ^)^